Deploy minIO on your server
/ 6 min read
Table of Contents
Why This Article
This article primarily shares how to deploy a MinIO object storage repository using 1Panel.
I had previously successfully deployed MinIO on a server, but due to an upgrade in 1Panel, the previously installed MinIO version was no longer recognized, preventing automatic container updates. The official recommendation from 1Panel was to redeploy.
Prerequisites
- Have a server with 1Panel installed.
- Have a domain name that is already resolved.
- Use rclone for uploading.
- Use piclist or picgo in conjunction with rclone.
Backup Previous MinIO Files
Before reinstalling, ensure that you have backed up the previous MinIO files.
Installing MinIO from 1Panel
Assuming 1Panel is already installed from this step onwards.
- Find MinIO in 1Panel’s App Store.
Click install, and the following window will pop up:
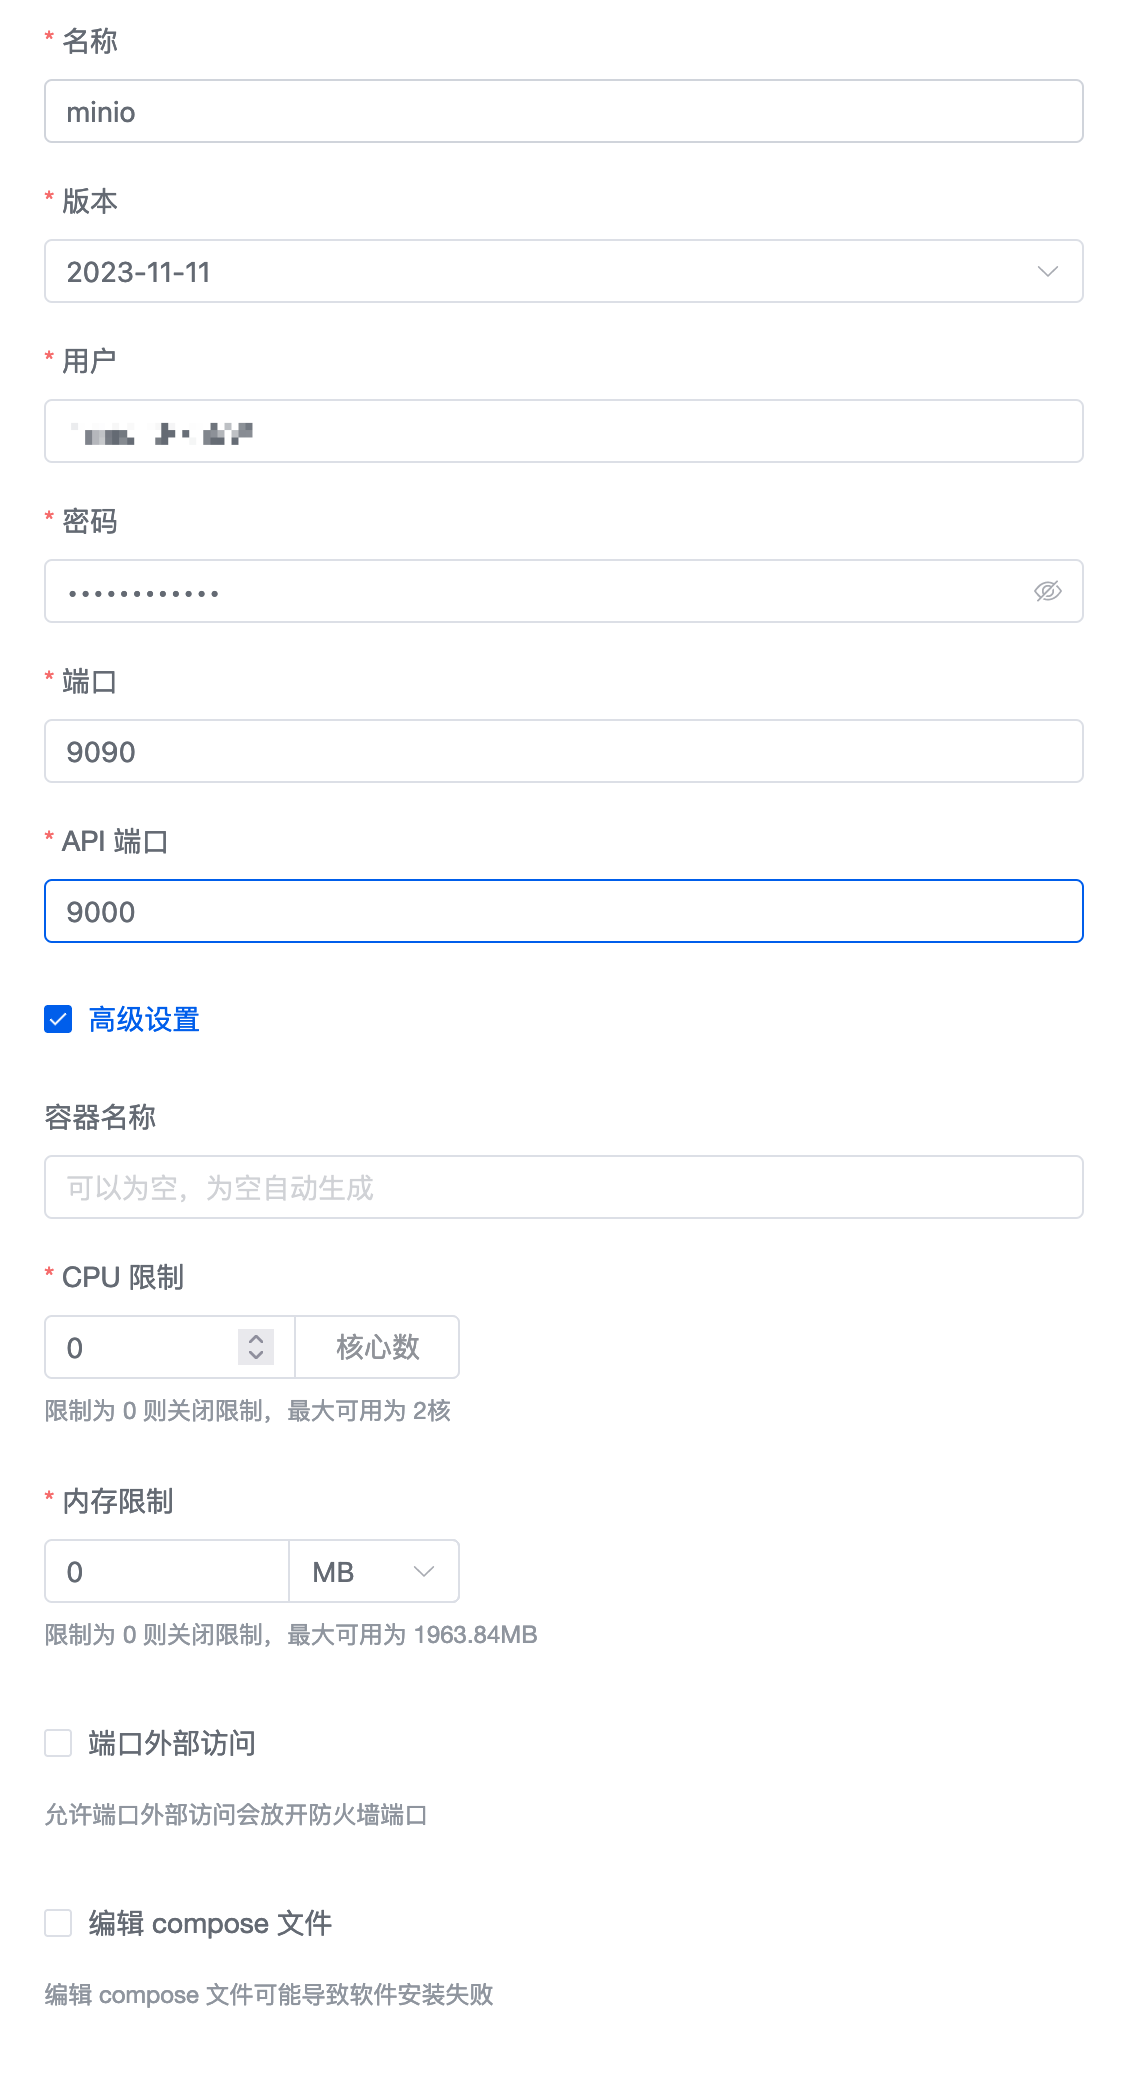
Remember to choose the
yyyy-mm-ddversion; otherwise, automatic upgrades won’t work later.
Make sure to modify the port to 9090, and API port to 9000. If you leave them unchanged, you’ll need to modify them in the nginx configuration later.
Once installed, you can find MinIO in the App Store’s installed list.

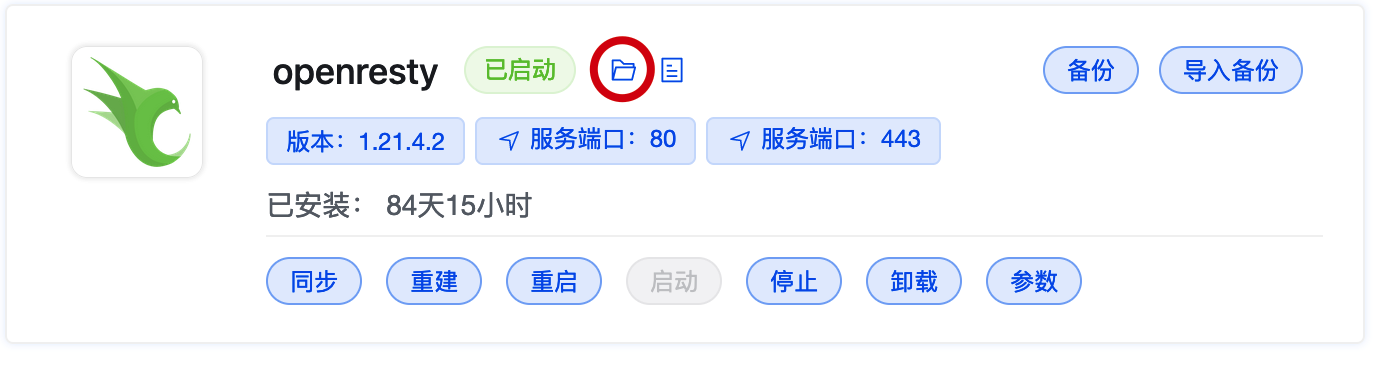
Find Openresty in the installed list, and click on the folder to locate the reverse proxy file.
Then find below location:

Create two configuration files in the folder, one for your MinIO web UI and the other for your API. You can set your domain name as desired.

Then, use the following template to set up the reverse proxy.
1. Web UI
The parts you need to modify are the server_name minio.abc.com in both port 80 and 443, and the port in the last line: proxy_pass http://localhost:9090. You can place your SSL key in the specified location during SSL configuration.
# web UIserver {    listen 80;    server_name minio.abc.com;
    # Redirect all HTTP requests to HTTPS    location / {        return 301 https://$host$request_uri;    }}
server {    listen 443 ssl;    server_name minio.abc.com;    ssl_certificate /usr/local/openresty/nginx/conf/conf.d/cert/minio/minio.abc.com_bundle.pem; # Path to your SSL certificate    ssl_certificate_key /usr/local/openresty/nginx/conf/conf.d/cert/minio/minio.abc.com.key; # Path to your SSL certificate key
    client_max_body_size 90G; # Adjust based on your needs
    location / {        proxy_set_header Host $http_host;        proxy_set_header X-Real-IP $remote_addr;        proxy_set_header X-Forwarded-For $proxy_add_x_forwarded_for;        proxy_set_header X-Forwarded-Proto $scheme;        proxy_connect_timeout 300;
        # To support websockets in MinIO versions released after January 2023        proxy_http_version 1.1;        proxy_set_header Upgrade $http_upgrade;        proxy_set_header Connection "upgrade";
        chunked_transfer_encoding off;        proxy_pass http://localhost:9090;    }}
2. API
In the API section, the crucial step is to hide your original bucket name through the reverse proxy. Here, I use img1 to replace the original bucket name. You can set your name.
Replace realbucketname with your bucket name in the last line: proxy_pass http://localhost:9000/realbucketname;
# minIO APIserver { listen 80; server_name minioapi.abc.com;
# Redirect all HTTP requests to HTTPS location / { return 301 https://$host$request_uri; }}
server { listen 443 ssl; server_name minioapi.abc.com; ssl_certificate /usr/local/openresty/nginx/conf/conf.d/cert/minioapi/minioapi.abc.com_bundle.pem; # Path to your SSL certificate ssl_certificate_key /usr/local/openresty/nginx/conf/conf.d/cert/minioapi/minioapi.abc.com.key; # Path to your SSL certificate key
# Allow special characters in headers ignore_invalid_headers off; # Set to a value such as 1000m; to restrict file size to a specific value client_max_body_size 0; # Disable buffering proxy_buffering off; proxy_request_buffering off;
location / { proxy_set_header Host $http_host; proxy_set_header X-Real-IP $remote_addr; proxy_set_header X-Forwarded-For $proxy_add_x_forwarded_for; proxy_set_header X-Forwarded-Proto $scheme;
proxy_connect_timeout 300;
# To support websockets in MinIO versions released after January 2023 proxy_http_version 1.1; proxy_set_header Upgrade $http_upgrade; proxy_set_header Connection "upgrade";
chunked_transfer_encoding off; proxy_pass http://localhost:9000; }
location /img1 { proxy_set_header Host $http_host; proxy_set_header X-Real-IP $remote_addr; proxy_set_header X-Forwarded-For $proxy_add_x_forwarded_for; proxy_set_header X-Forwarded-Proto $scheme;
proxy_connect_timeout 300;
# To support websockets in MinIO versions released after January 2023 proxy_http_version 1.1; proxy_set_header Upgrade $http_upgrade; proxy_set_header Connection "upgrade";
chunked_transfer_encoding off;
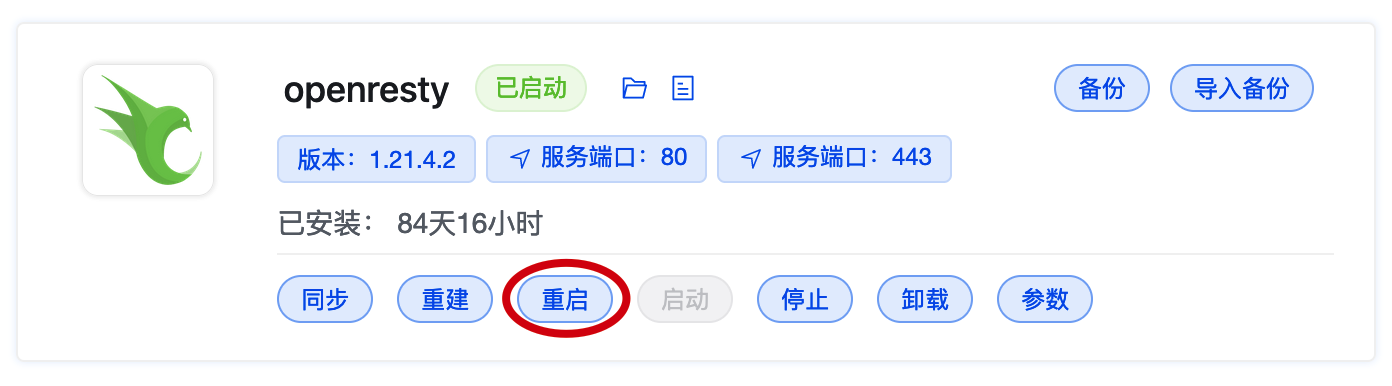
proxy_pass http://localhost:9000/imgpjx; }}After completing the setup, go back to the App Store’s installed interface and restart openresty.
Open Domain
Ports
After a successful restart, go to your domain console and open the corresponding ports for your domain. The following steps are based on Tencent Cloud DNSPOD.
Open Server Ports
First, enter the Tencent Cloud Console and find your server firewall settings.

Add ports 9090 and 9000 in the firewall settings.

Now, the server ports are set up.
Domain Resolution
Next, we need to resolve the domain set in the reverse proxy file.
Log in to the Tencent Cloud Console, go to Cloud DNS, and find your domain.


You can choose to CNAME to your server domain or directly set an A record to your server IP.
After setting up both the ports and domain, you can access MinIO’s web UI directly through your domain.
Configure MinIO
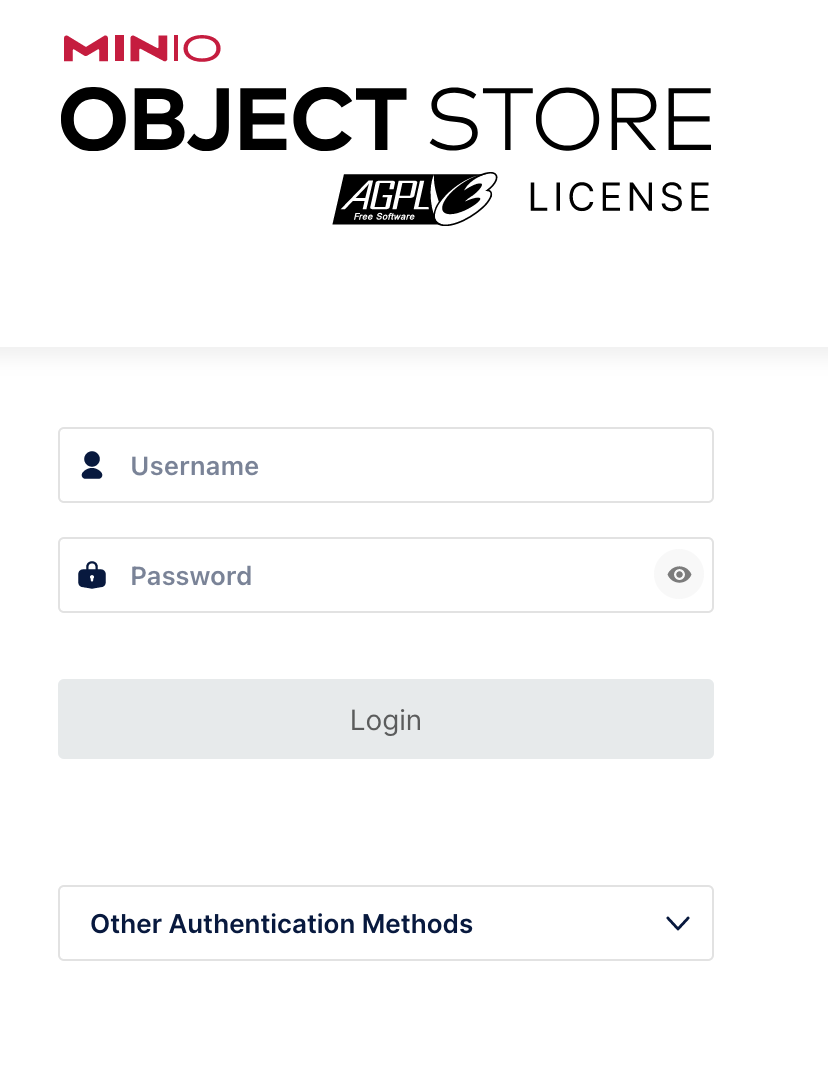
Log in to the Web UI
Enter your domain to access the web UI. Log in with the administrator credentials you set.
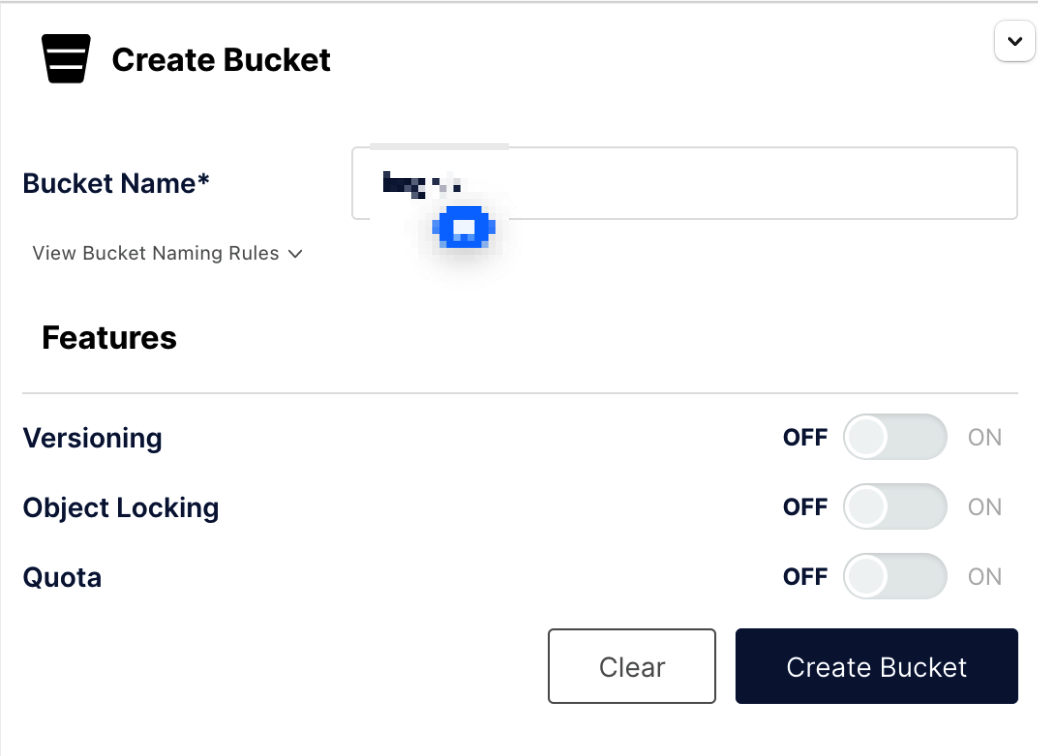
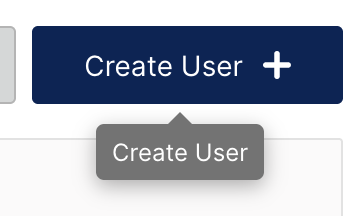
Create a Bucket
Click on “Buckets” on the left and create a storage bucket.

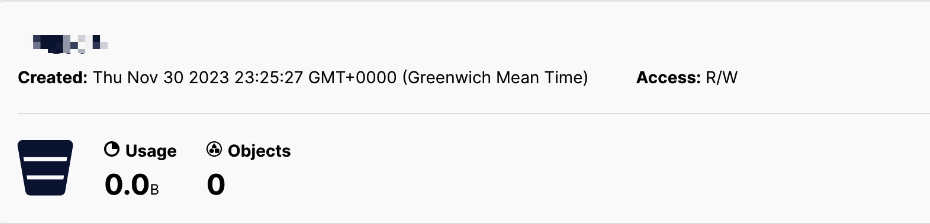
After creation, you can see your bucket.
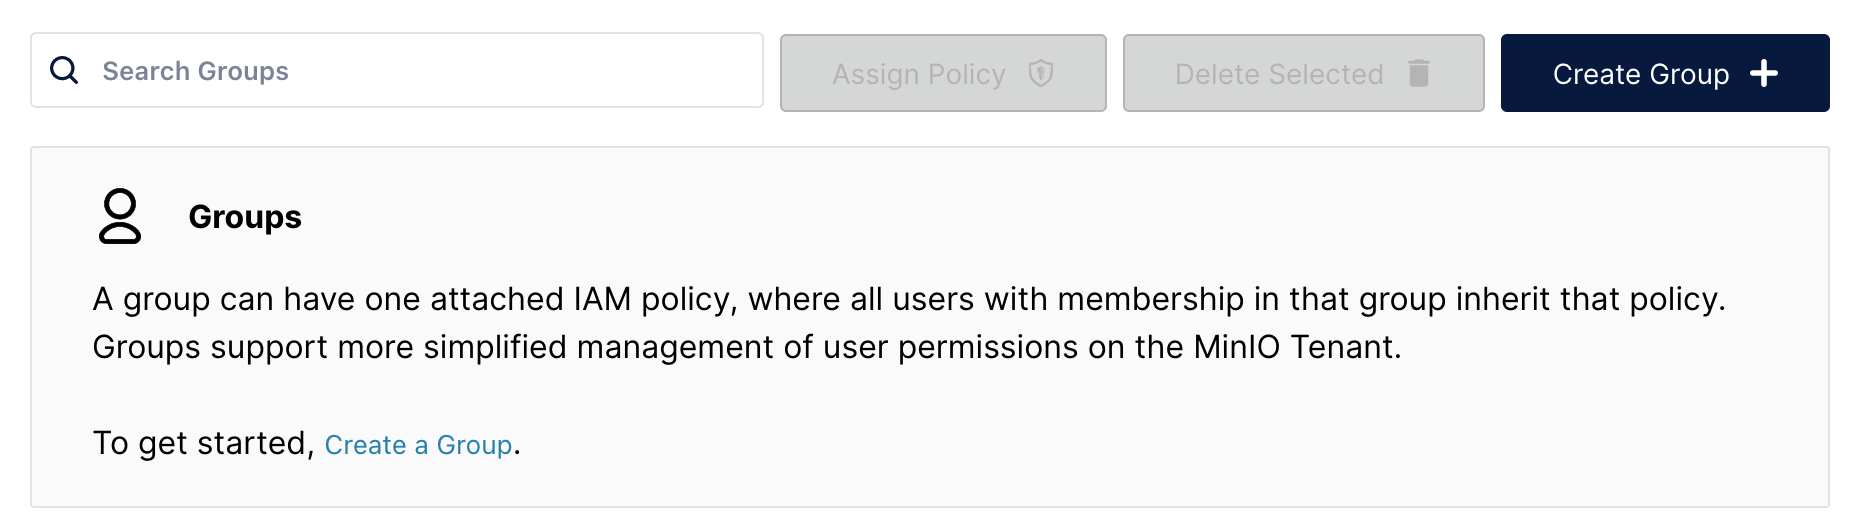
Create an Upload User
For security reasons, you may want to create a separate account with only read permissions.
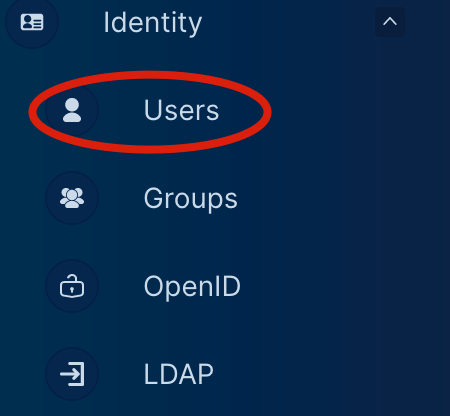
You can then create a policy group for easier management.
Configure Keys
Next, log out and log in with the new upload account to create an access token. If you prefer to use the default administrator account, the steps are the same.
First, find the access key on the left.
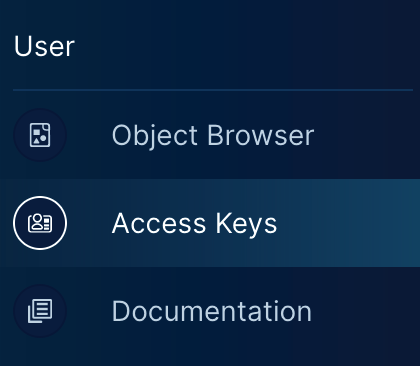
Then, click on “Create Key.”

Make note of your Access Key and Secret Key.
At this point, basic bucket setup is complete. The following steps are for local and remote bucket coordination. If you already have similar software for local synchronization, you can proceed with simple settings.
Here’s a brief introduction on how to configure rclone and use PicList to achieve multi-bucket synchronization upload.
Configure Rclone
Because of the character limit in Notion API, the instructions for configuring rclone have been placed in another link. You can click here to go to the rclone configuration tutorial
Use PicGo or PicList
Once you’ve configured rclone, you can use various tools on macOS or other platforms. Here, I’ll use PicList mainly because it allows using the rclone plugin to upload to multiple remote buckets simultaneously and keep a local backup. This way, even if your remote bucket encounters issues, you can retrieve the backup from another bucket or locally to minimize inconvenience during the recovery process.
Use CDN
This section uses UPYun as an example. Using UPYun assumes that your domain is already registered. If not, you may need to configure CloudFlare on your own.
After successfully registering and logging in, enter the control panel, where you’ll see various options.
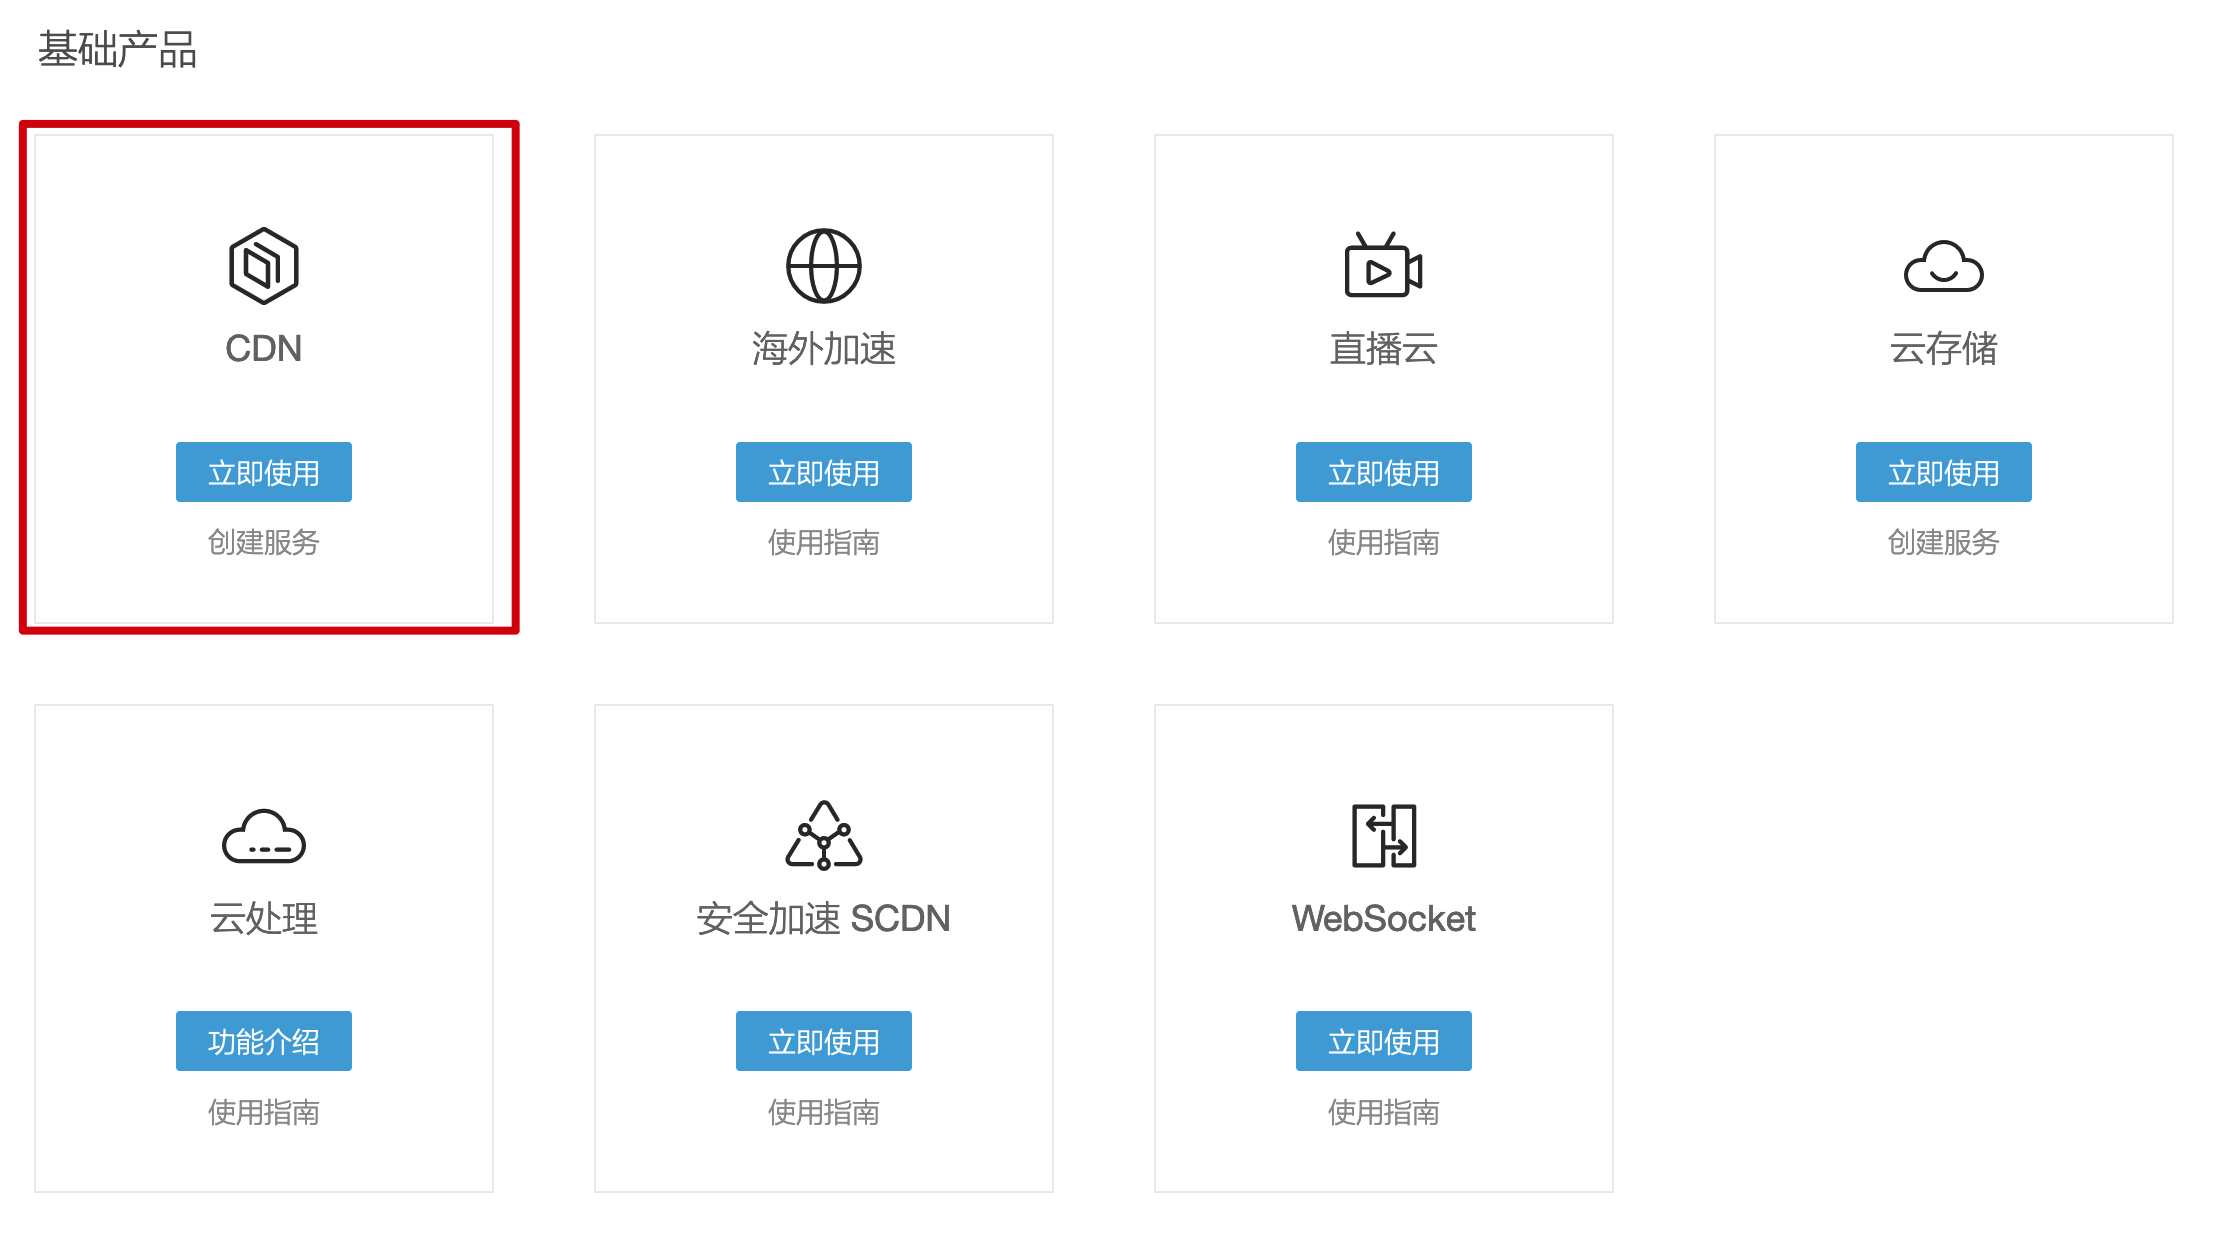
Choose the CDN service and click “Use Now.”
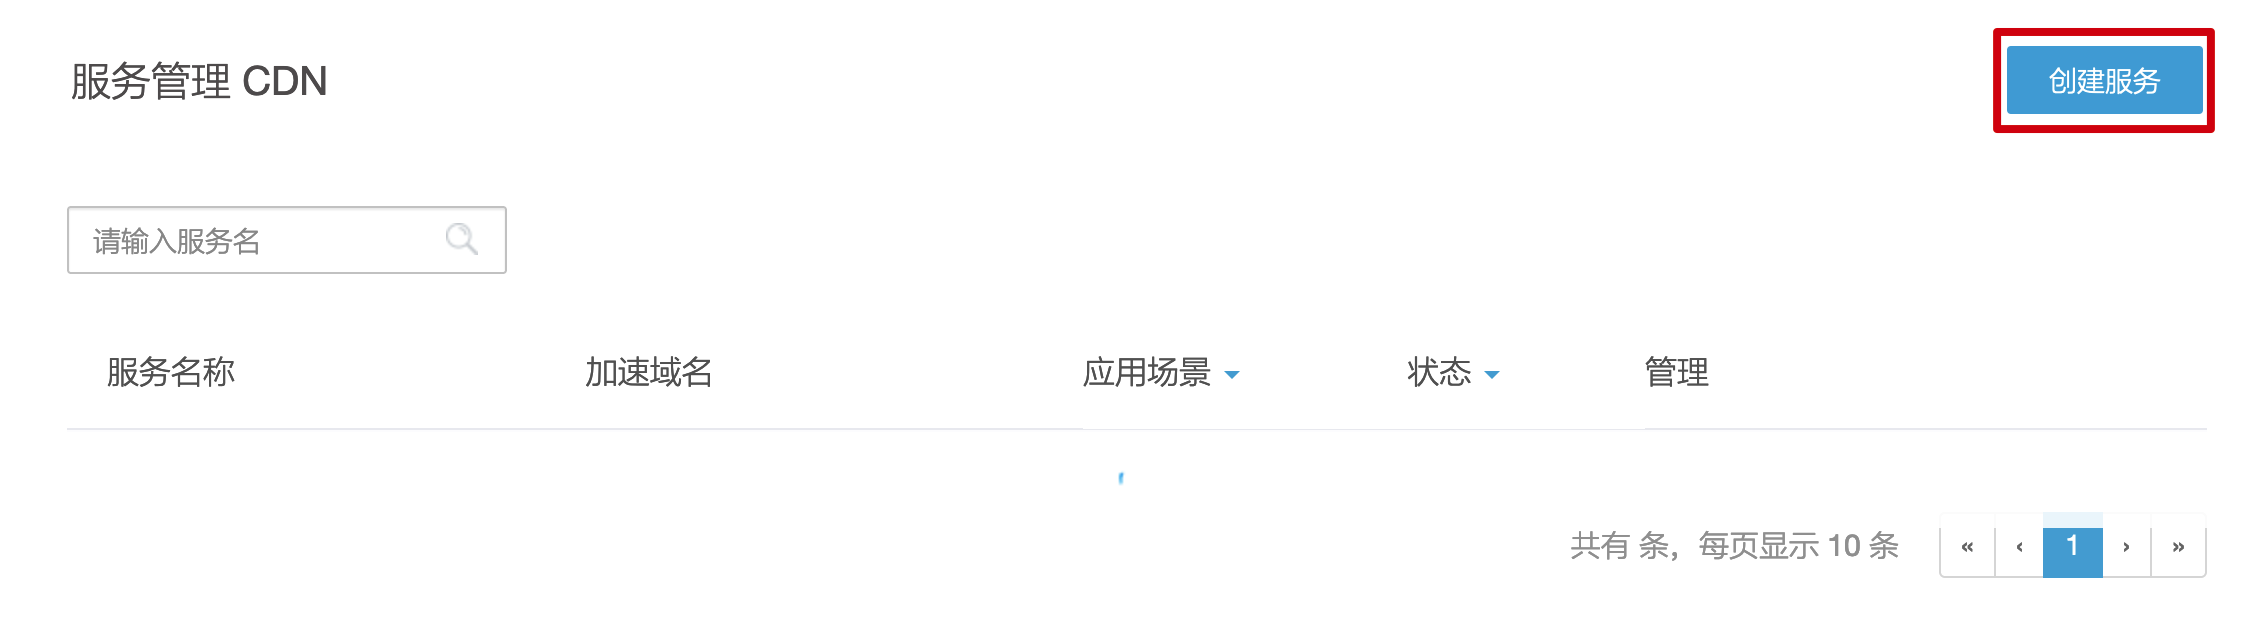
Create a service.
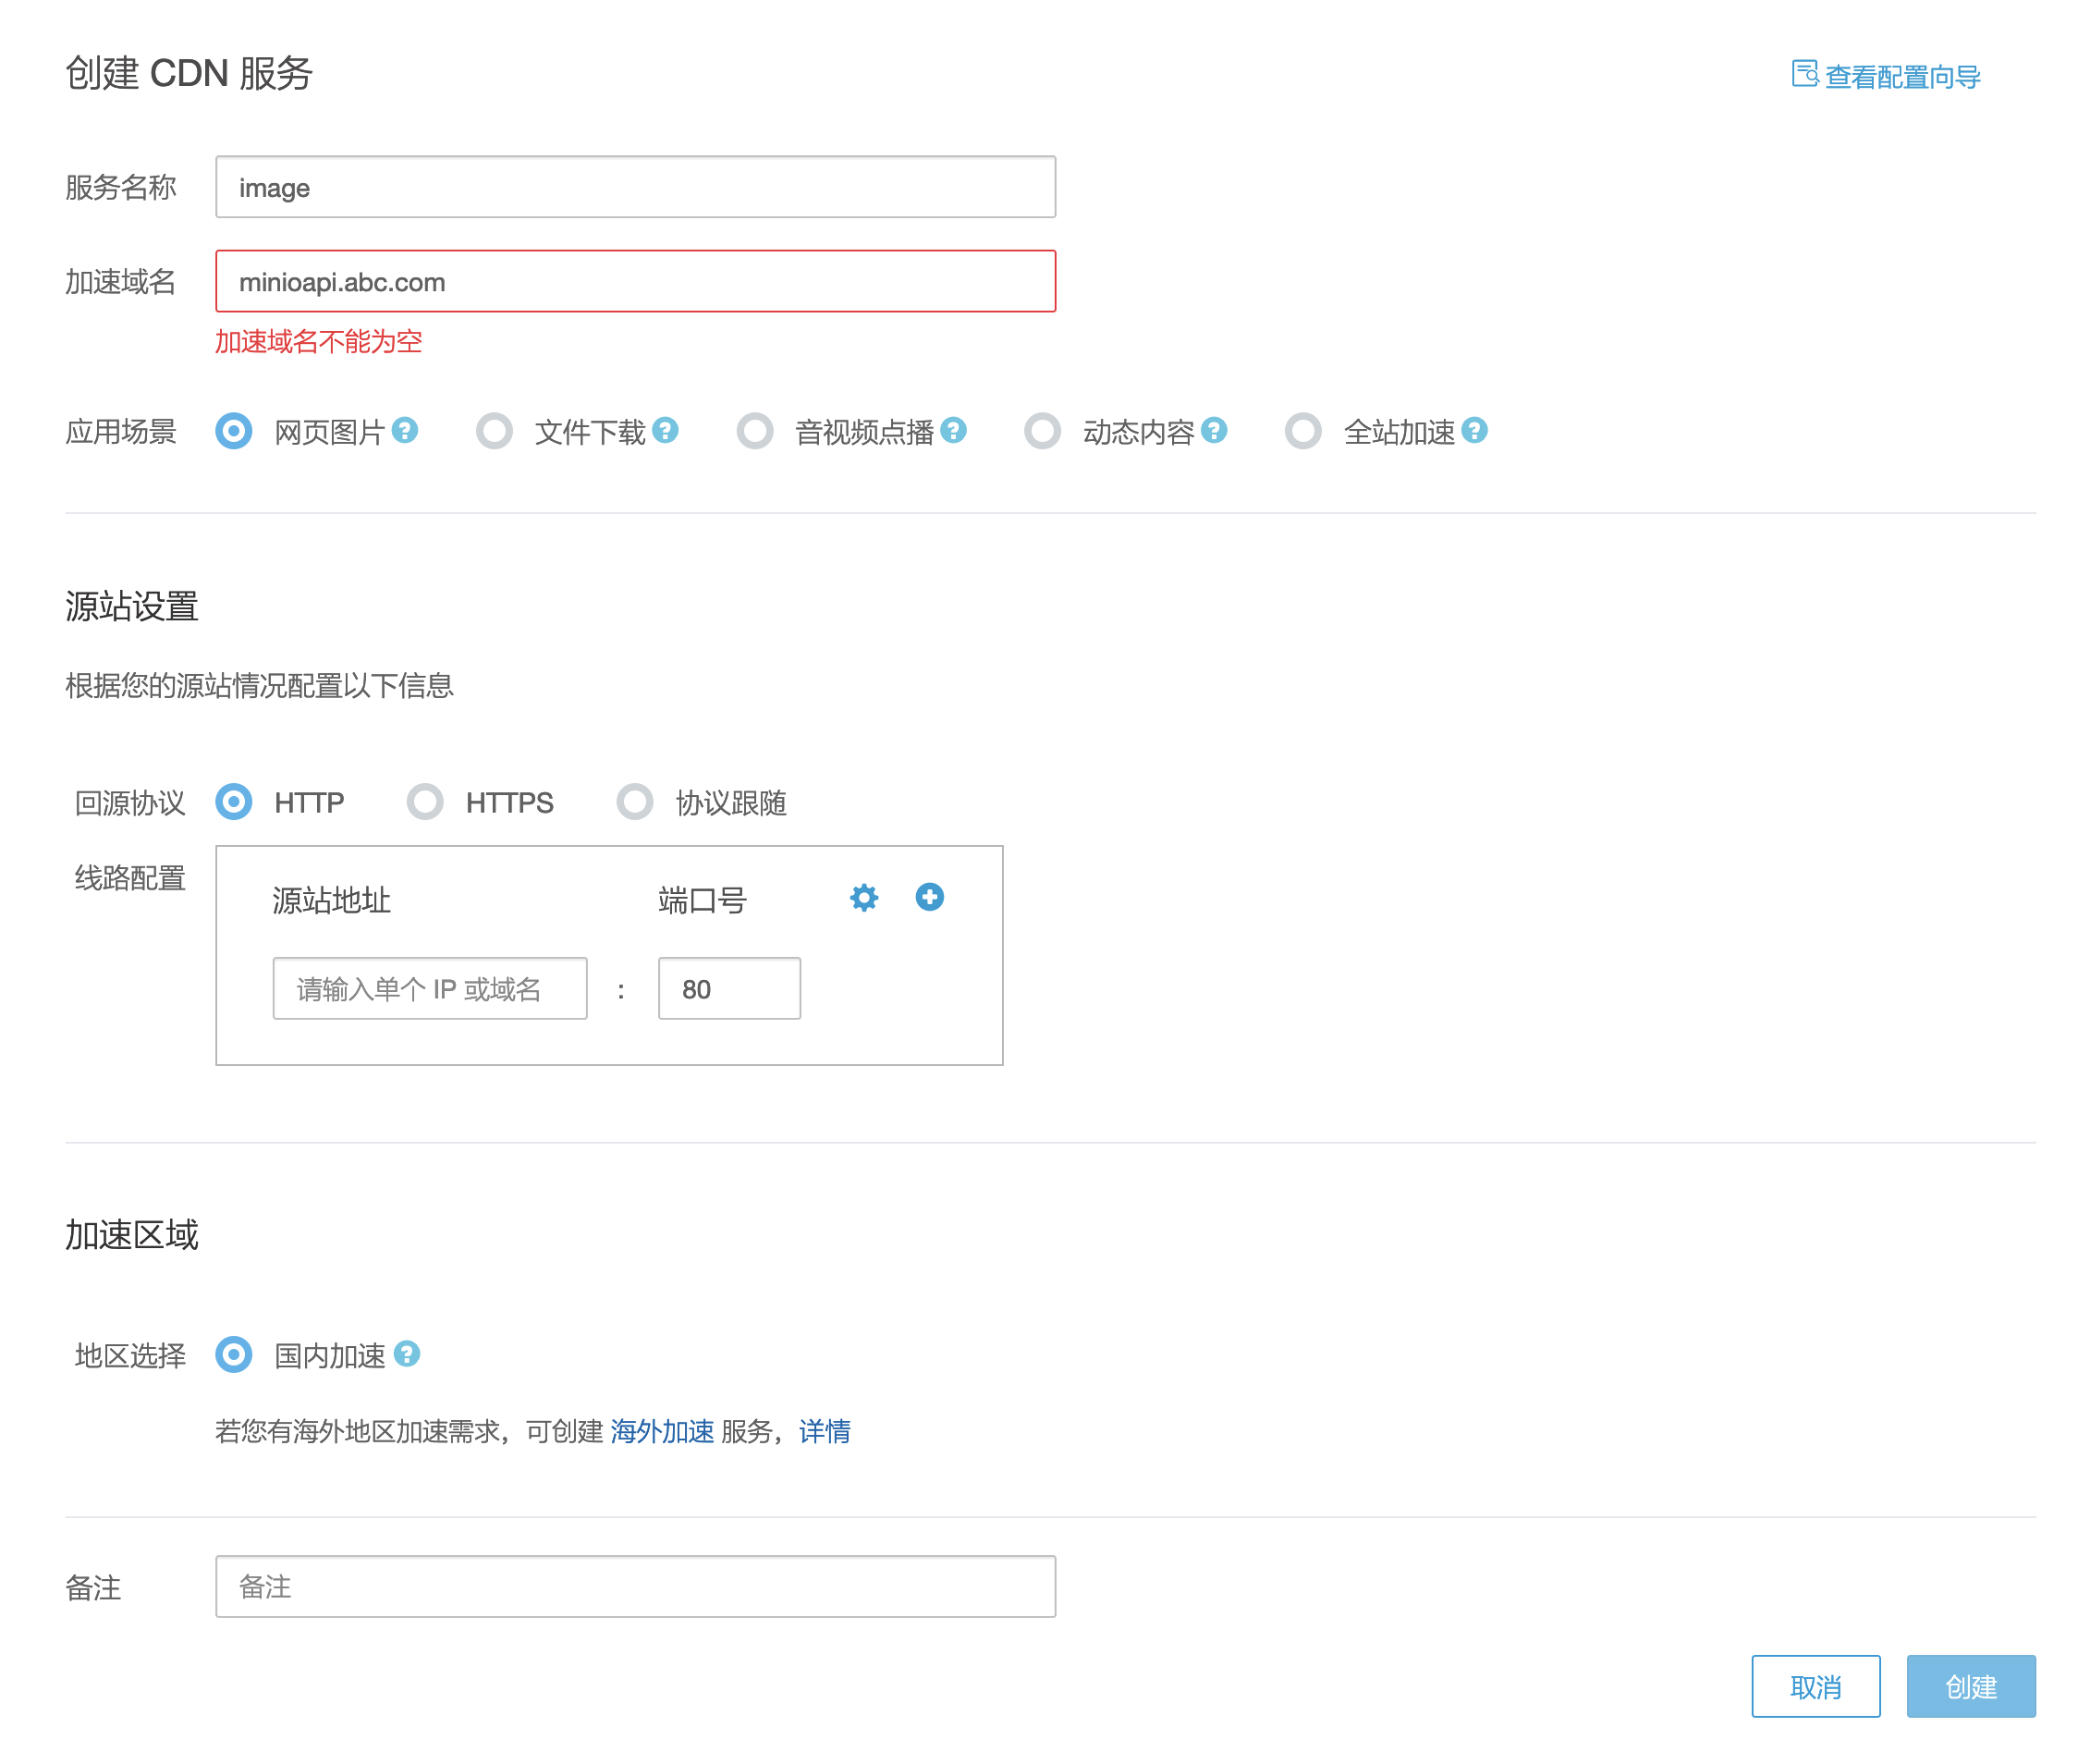
Enter the accelerated domain as the MinIO API domain.
Configure the line by directly entering the server’s IP.
Now the setup is complete.